 by Emerald Red » Tue Dec 18, 2007 2:12 pm
First time I seen this thread.
Right, this isn't a simple task if you're a beginner, so bear with it and you'll get the gist of it eventually.
The tricky part is, as you put it, having to single out the part of the image you want and cutting it out. If it's a large object with no real intricate parts to it, it will be fairly straight forward.
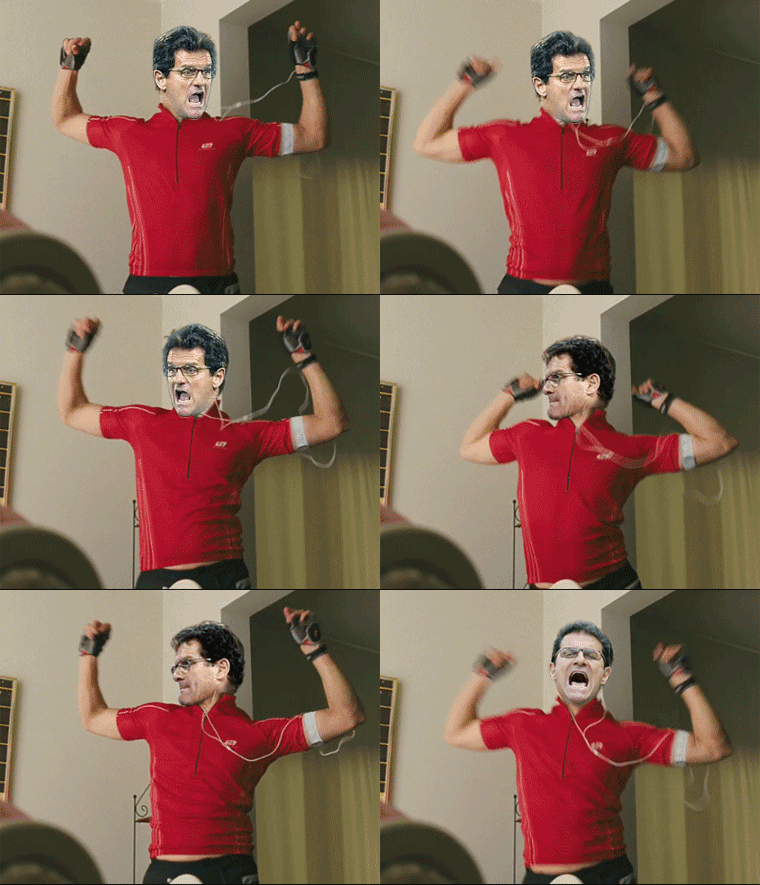
There are a few ways of doing it, but most others are a bit too complex. One way (and the easiest) is to use the lasso tool and draw around the object manually. Don't let go of the mouse button once you pressed it. It can be annoying doing it this way if you don't have a steady hand or some patience. You don't have to be exact. Just get as close and as tight to the shape you want and when you've completed it all the way round, let go. You'll see your outline. Now all you have to do is grab it and move it across to the other image. Use the 'move' tool for this. Click on it, and then grab inside the part you just outlined and drag it across onto your image. Before doing this, it's worth noting that it won't always match up, and will often be out of proportion, so tinker with the image size on either of the pictures so that they are an even match of scale. For example, if the image you are cutting from is bigger than the one you're dropping it on to, even though it might not look it, it will come out massive. So make sure you set the resolutions accordingly. Trail and error. There are other ways to match it up, but I haven't figured out how to change the dimensions of singled out cut layers. I know the option is there, but my PS doesn't seem to obey when I try to stretch, rotate or skew separate entities, so I just do it as I described above.
Once you've dropped your cut image down and matched it up, it is now a separate layer, so you can tinker with it. You can either stretch or skew it to fit, or use the erasure tool to erase anything you don't want there, like background noise from the previous image. From here you can then use the smudge tool to blend in the image so that it looks right and not like it's been cut out. I'm probably getting a bit too technical now, so I'll leave it there.
One more thing, before saving the image, make sure you flatten the final result, or save it as a separate JPEG image. To flatten, click on 'layer' at the top and then flatten at the bottom of the list.


